First Time Usage - Step by Step Guide
Welcome to CMM-Manager
This guide will help first time users install, setup, and operate CMM-Manager. We're here to help during this time as you are getting used to your new software. You can always email us at support@qxcmm.com for additional help or guidance.
Is my CMM compatible?
- Learn more about compatible CMMs here
- Not sure if your CMM is compatible? Send us pictures of your CMM including Probe and Joystick
Request a free 30-day trial license
- You can request a trial license here - https://qxcmm.com/trial/
- Complete page 1 of the request form.
- Download and install CMM-Manager.
- Run QxSoftRus.exe from C:\Program Files (x86)\Common Files\QxSoft\Licensing
- Create a .C2V file.
- Upload .C2V file and submit request form.
- We'll get back to you with a .V2C file and instructions to apply this license update.
Run CMM-Manager for the first time
Launch CMM-Manager from the desktop icon or from the Windows Start menu
Choose the correct Driver for your CMM. Note the unique list of DCC and Manual CMMs
Choose the Offline option when running the software for the first time
If you need to select a different CMM Driver after running the software for the first time you can make a new selection from the System Ribbon Tab by clicking Switch Driver as shown here:
Getting started with CMM-Manager's UI
Overview of common CMM-Manager UI customizations including saving / loading Layout(s), creating / editing Toolbars, hide / show Ribbon Bar, moving dock-able UI components, adjusting CAD manipulations, and more.
- https://support.qxcmm.com/portal/en/kb/articles/user-interface-overview
- https://support.qxcmm.com/portal/en/kb/articles/enable-simplified-measurement-ui
- https://support.qxcmm.com/portal/en/kb/articles/how-to-restore-cmm-manager-ui-when-icons-are-missing
- https://support.qxcmm.com/portal/en/kb/articles/create-and-manage-keyboard-shortcuts
Machine and Probe Setup
General Machine Setup steps are outlined here while details on device specific Setup Guides are here
Machine Setup
Select "System | Machine Setup" from the CMM-Manager ribbon bar.(Note: The machine setup password is "service".)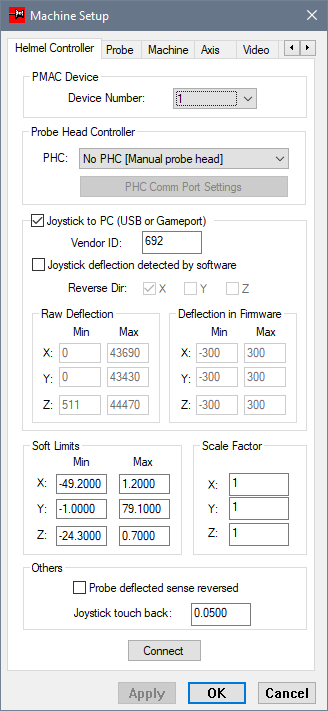
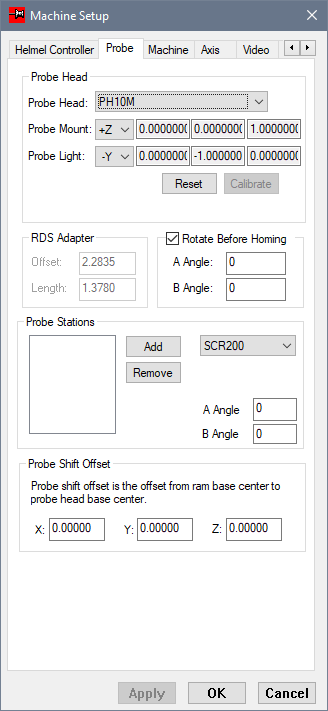
Connect to CMM
The Connect / Disconnect Machine command is a toggle that enables or disables the connection (communication) between CMM-Manager and the physical CMM machine controller. You will see a Connect Button in the System Ribbon Tab as well as in Machine Setup as shown below.Upon pressing the Connect Button, if no communication errors are displayed and the DRO is active, then you have successfully connected to your CMM.
Setup Calibration Sphere
Select "Probe | Setup | Setup Cal. Sphere" from the CMM-Manager ribbon bar. Select the Calibration Sphere from List and press Edit, then enter the correct values for Calibration Sphere diameter, height, Stem diameter, etc. Click OK, then Close to confirm these values.Setup Probing and Table Height
From the CMM-Manager Status Bar:
- Probe Assembly (build new probes) - Setup and Edit Probe Assembly
- Tip manager (add and calibrate tip angles)
- Machine Property (set table height)
Full details for Machine and Probing setup - https://support.qxcmm.com/portal/en/kb/articles/general-setup-procedures

Establish Reference Tip
The Establish Reference Tip command establishes or "qualifies" the reference tip to generate the tip offset values relative to the machine reference frame. The reference tip is established by measuring a calibration sphere.
From Tip Manager, choose Ref Tip from the Tip list, click on Calibrate, then follow prompts based on your CMM. Note - Manual and DCC CMM behavior is unique.
Congratulations! You are ready to start measuring with your new CMM-Manager software.