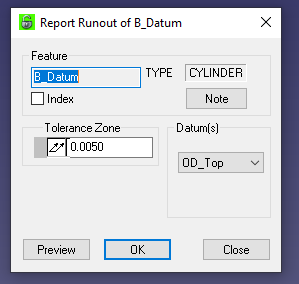
Total Runout
Would someone please explain to me how the software calculates total runout. I am getting some results that seem pretty unreasonable. While not perfect, the part has been checked with indicators while still setup in the lathe, and the TIR there is very minimal, less than .002". I am getting Total Runout readings of almost .010". I understand Total Runout is much more involved than what I can check on the lathe, but I need a better understanding in order to make sure we are giving our customer the most accurate results.

I cant show the part or print, but for reference, the datum is 10.2" inside diameter and .500" tall cylinder. The feature being checked ins 32.0" outside diameter and 10" tall cylinder.
Another interesting thing to note, If I flip flop the reported feature and datum the results come out much more consistent with what I am seeing on the lathe.
Topic Participants
Ryan
Nate Frost
Richard Benjamin
Michael York